
My New Fluid Squared CycleOps Trainer
I was excited to find my new CycleOps Fluid 2 trainer in the mail and thought I would give you some photos of me setting it up. My 2.5 year old daughter was my trusty assistant.
First off, I noticed that the box was pretty light-weight. I was surprised. I have discovered that CycleOps is very efficient in their design. Everything is very solid, but it doesn't weight very much at all. In the box was the frame with foldout legs, the resistance unit, some hardware and a CTS Time Trial DVD. My daughter wanted to pop that DVD in the player right away. She was pretty disappointed to find Chris Carmichael instead of Elmo, and gave it an overall review of "boring," but she still didn't want to turn it off. The TV is just that addictive.
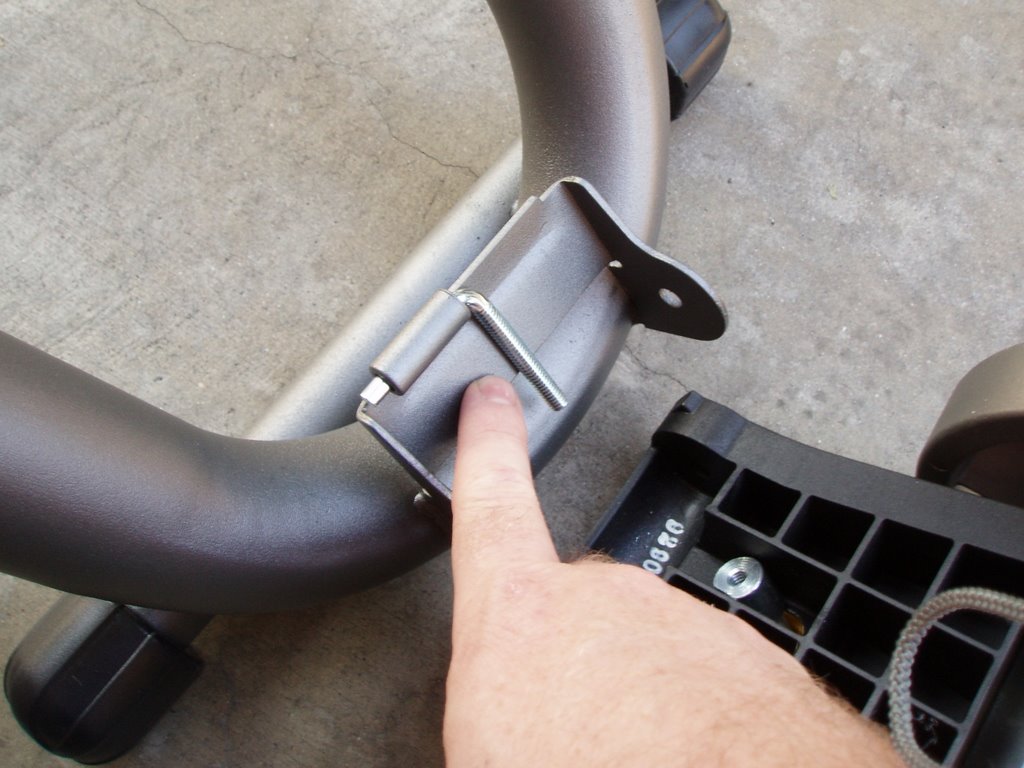
 The fist step in putting the trainer together is to place a pin in the welded tube of the frame. This pin will be used to tension the resistance unit.
 The next step is to install a bolt to attach the resistance unit to frame. It is just one simple bolt. The head of the bolt recesses nicely in to the frame bracket to make it really easy to install.
 It is so easy to install that I had my daughter do it!
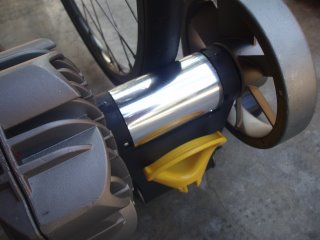
 The next step is to connect the pin on the frame to the resistance unit.
 The bike is then placed on the frame. I found that the easiest way to do this was to first extend the right side, controleld by a lever, and place the right side of the rear wheel in it first.
 Then tighten the left side. Remove the bike. Extend the left side a few more turns. Put the bike back on and then when the lever is extended it will make a nice tight fit.
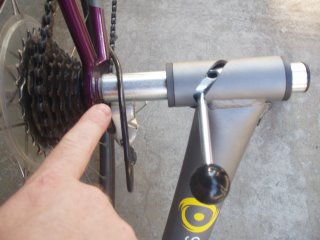
 The final step is to tighten the yellow handle on the resistance unit by rotating it until the resistance unit makes contact with the wheel.
 When the wheel makes contact you lock the resistance unit in place by lifting the handle up.
 I propped up the front wheel to make the bike level and gave it whirl. My daughter thought it was really cool.
The fluid in the resistance unit make progressively more resistance as the unit turns faster, so to increase the resistance all you have to do is adjust your gearing to get your wheels to turn faster relative to your crank speed. It is actually just like pedaling on flat terrain. If you want more resistance you just put the bike into a higher gear. Really cool.
My next step is to work on my bike fit. I still have hard time staying in the aerobars for more than a few minutes. I'm not sure why, but with the trainer it is really easy to change things around and try out new configurations while looking in a mirror or taking a photo. Goal number one for the pre-season is get aero!
PS: If anyone has an opinion on my bike position, speak now. I could use the input.
First off, I noticed that the box was pretty light-weight. I was surprised. I have discovered that CycleOps is very efficient in their design. Everything is very solid, but it doesn't weight very much at all. In the box was the frame with foldout legs, the resistance unit, some hardware and a CTS Time Trial DVD. My daughter wanted to pop that DVD in the player right away. She was pretty disappointed to find Chris Carmichael instead of Elmo, and gave it an overall review of "boring," but she still didn't want to turn it off. The TV is just that addictive.
 The fist step in putting the trainer together is to place a pin in the welded tube of the frame. This pin will be used to tension the resistance unit.
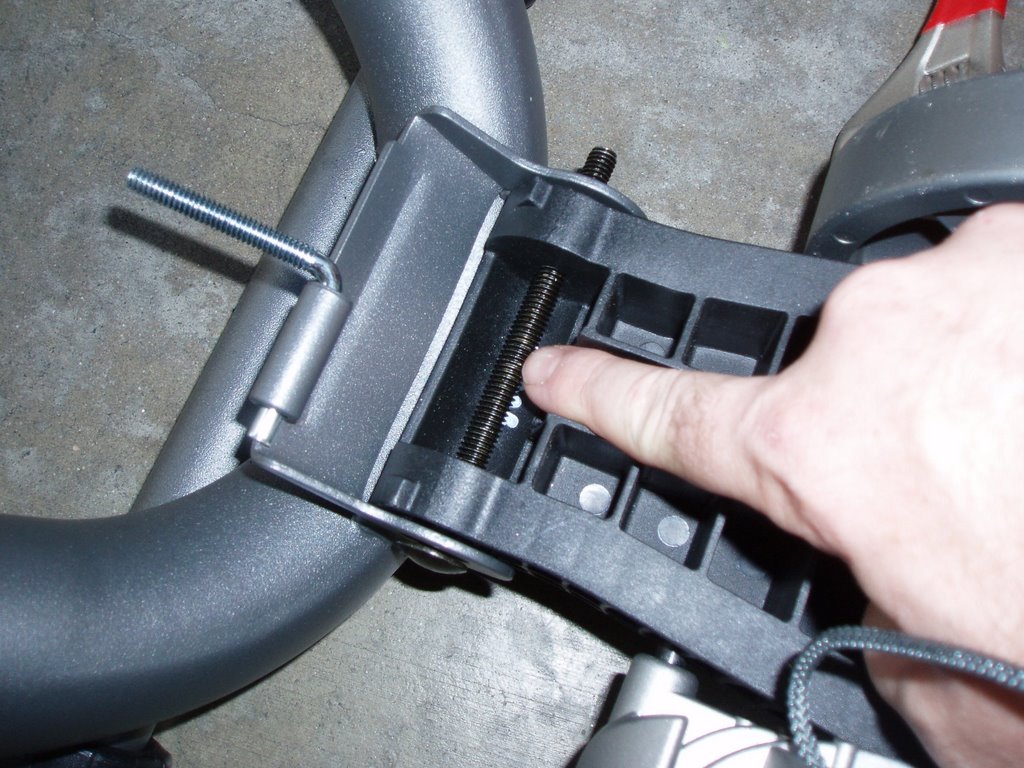 The next step is to install a bolt to attach the resistance unit to frame. It is just one simple bolt. The head of the bolt recesses nicely in to the frame bracket to make it really easy to install.
 It is so easy to install that I had my daughter do it!
 The next step is to connect the pin on the frame to the resistance unit.
 The bike is then placed on the frame. I found that the easiest way to do this was to first extend the right side, controleld by a lever, and place the right side of the rear wheel in it first.
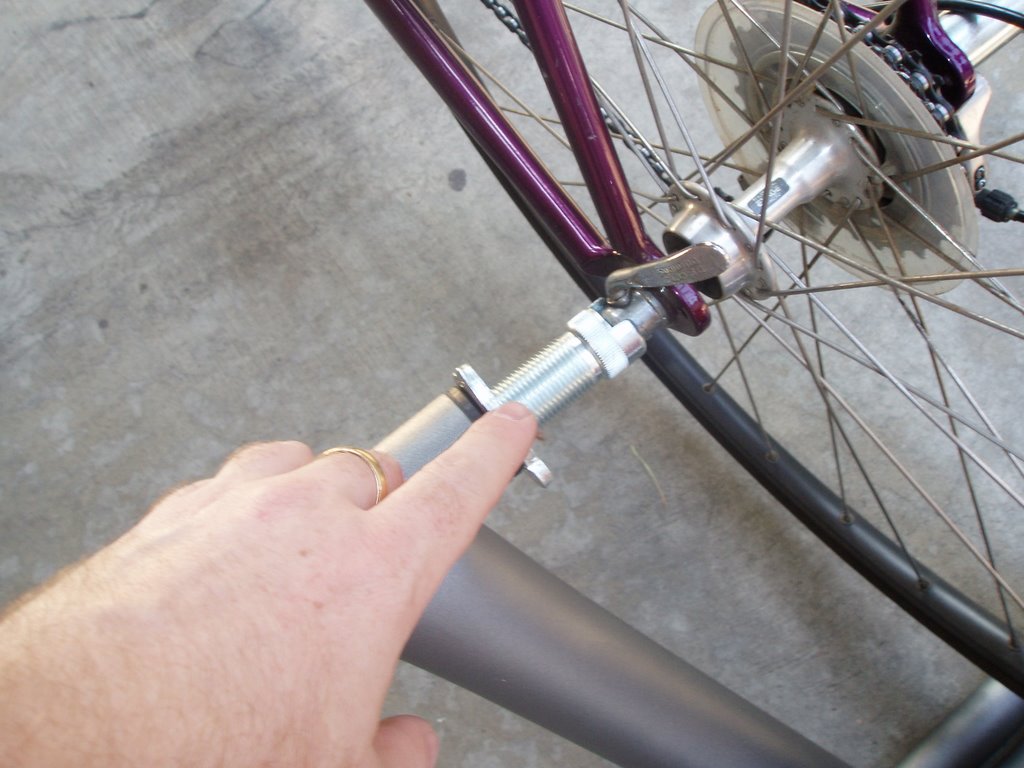 Then tighten the left side. Remove the bike. Extend the left side a few more turns. Put the bike back on and then when the lever is extended it will make a nice tight fit.
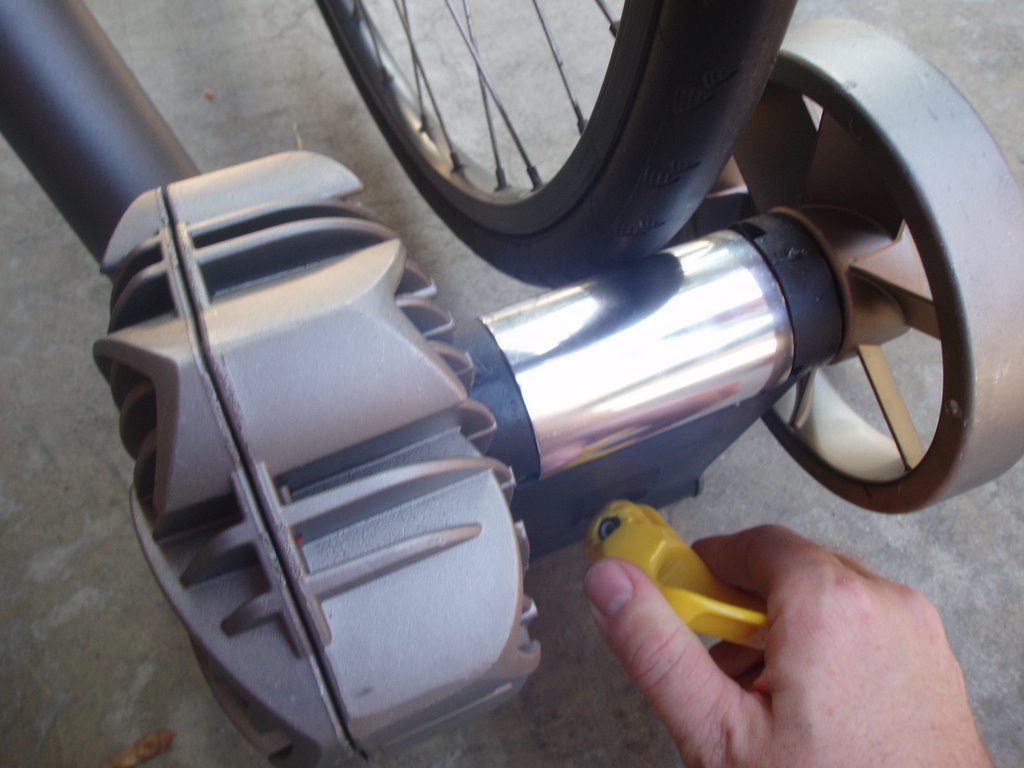 The final step is to tighten the yellow handle on the resistance unit by rotating it until the resistance unit makes contact with the wheel.
 When the wheel makes contact you lock the resistance unit in place by lifting the handle up.
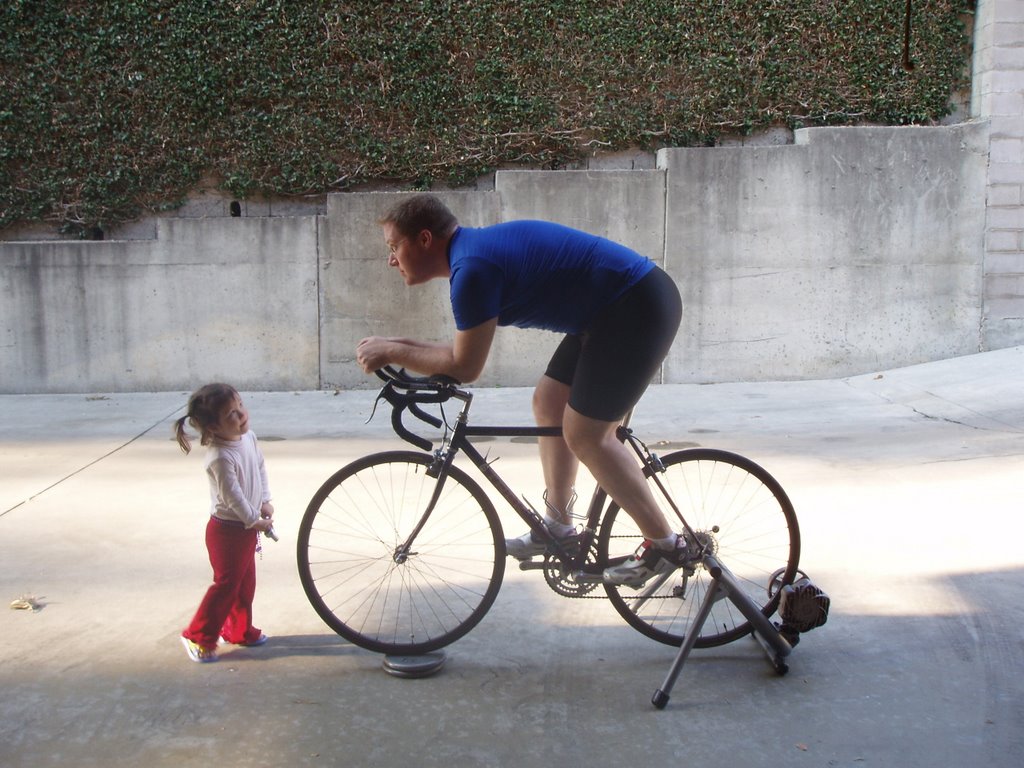 I propped up the front wheel to make the bike level and gave it whirl. My daughter thought it was really cool.
The fluid in the resistance unit make progressively more resistance as the unit turns faster, so to increase the resistance all you have to do is adjust your gearing to get your wheels to turn faster relative to your crank speed. It is actually just like pedaling on flat terrain. If you want more resistance you just put the bike into a higher gear. Really cool.
My next step is to work on my bike fit. I still have hard time staying in the aerobars for more than a few minutes. I'm not sure why, but with the trainer it is really easy to change things around and try out new configurations while looking in a mirror or taking a photo. Goal number one for the pre-season is get aero!
PS: If anyone has an opinion on my bike position, speak now. I could use the input.
posted by Anonymous at 8:51 PM
![]()
![]()


6 Comments:
very nice. congrats on the new toy!
your daughter is a cutie too...
Thanks - your post was more helpful than the instructions that were included with my own Fluid 2 trainer. You saved me some frustration in assembly yesterday I'm sure!
Thanks for the pics the instructions in the box are not as good, happy training!!!
This article was a godsend as the instructions that came with the trainer are CRAP and in NO way resemble what you should actually be doing to set up the trainer...my only negative detail of an otherwise excellent product
I assembled using the directions, and had no problems at all. *shrug* You should get the cycleops climbing bock for the front. Much better stability, and a varying height option to simulate climbing. Congrats!!
How stoked am I?!? Thanks, I started to get a little frustrated with a few things. The directions that are provided are too simple to figure out :)
Post a Comment
<< Home